Planting for Success

Getting plants off to a good start begins with planting. While it’s a simple enough concept – dig a hole, cover the plant’s roots with soil, water, and watch it grow – there’s actually a bit more to it. The process varies slightly if you’re planting bulbs, succulents, or trees and shrubs. Planting a tiny little seedling requires some different handling than planting a 15-gallon sized tree.
> Ten steps for planting success
> Notes on fertilizing at planting
> If you have gophers...
A few things are important no matter what you plant:
• Start with healthy plants that are suited to the location.
• Plant into healthy soil.
• Water plants as needed while new roots are developing.
When to plant
In our mild Mediterranean climate, you can plant year-round, though the best time to plant is early spring or early fall when days are relatively short, air temperatures are cool, and soil remains moist. California native plants are best planted in the fall before rains are anticipated. Planting bare root plants is often done in late winter when plants are the most available.
10 steps for planting success
The planting steps below are for container plants purchased at nurseries, ranging from 4-inch pots to large 15-gallon containers.
1. PREPARE plants
• If plants cannot be planted right away, place them in a shaded area and keep the roots moist.
• Water plants well before planting to ensure the root ball is thoroughly wetted. A dry root ball is difficult to rewet after planting.
• Remove plant from pot. Tap the pot firmly on sides and bottom to loosen the root ball and slide the plant out of the pot.
• Remove any damaged roots with a clean cut.
• Gently loosen exposed and circling roots to encourage penetration into existing surrounding soil. If roots are dense or compacted, make several vertical cuts in the sides of the root ball and an X-shaped cut across the bottom with a sharp knife.
• Tease some of the roots out of the ball to encourage outward growth.
2. DIG the hole
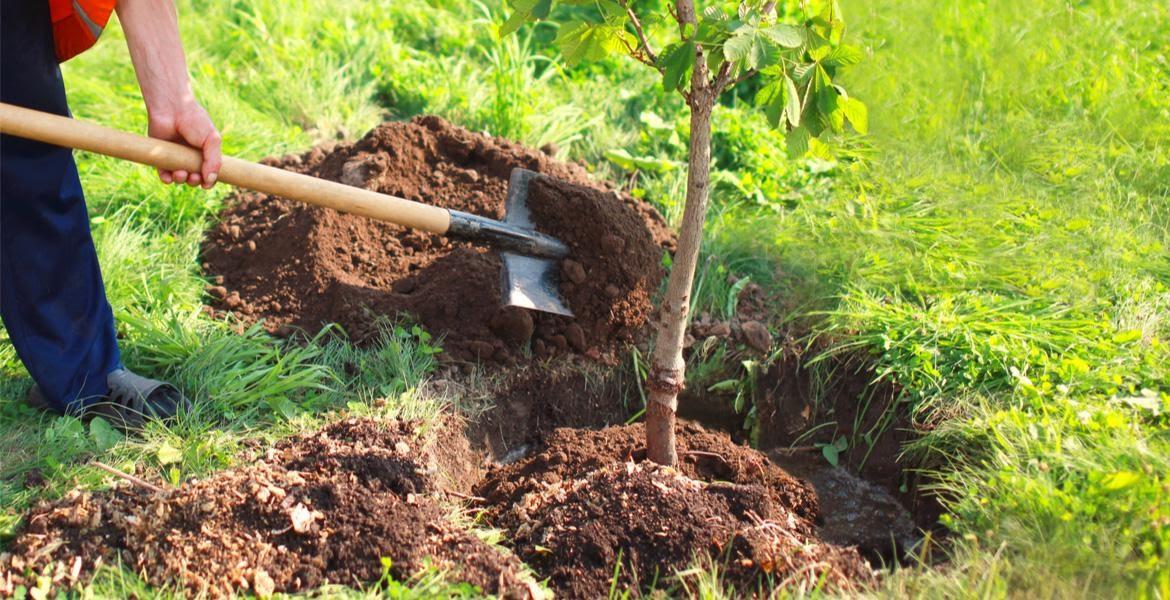
• Dig the hole about 2 inches less deep than the soil in the container and at least twice as wide. The goal is for the crown of the plant (where the stem meets the roots) to be slightly above the soil.
• Planting more deeply or in loose soil that can settle with time, causing the plant to be deeper than intended, may lead to future problems such as crown rot.
• The wider the hole, the faster the roots will grow out of the root ball and into surrounding soil.
• If soil is compacted, loosen, and wait 2 to 4 weeks before planting to let soil settle.
• Scratch the sides of the hole to break it up since it can be a barrier to root growth.
• Water the hole to prevent the root ball from drying out too quickly.
• Don’t add anything to the hole such as peat moss, compost, or leaf mold. Organic matter can act like a sponge in the planting hole, absorbing and holding too much moisture and causing the roots to stay too wet.
3. PLACE the plant
• Set the plant in the center of the hole so the top of the root system/ graft union is no deeper than the surrounding soil level.
• All trees and shrubs should rest on solid soil in the bottom of the hole to avoid settling.
• Make sure the plant is upright.
• Rotate the plant to have the best side of the plant facing the desired view.
• Remove any low hanging branches or leaves that might rest on the soil surface.

4. FILL the hole
• Break apart any clods and remove stones or other debris from the removed soil before refilling the hole.
• Backfill with the same soil removed from the hole.
• Don’t add any amendments. Studies show that nothing is gained by amending the backfill with organic matter, fertilizer, vitamin B1, or other substances.
• Firm the remaining soil around the sides of the root system. Avoid packing the soil too tightly; you do not want to destroy the pore space between soil particles.
• Make a slightly raised, temporary ridge of soil around the outer edge of the planting hole to prevent irrigation water from running off. Remove this ridge after a few months.
5. WATER thoroughly
• Water gently and thoroughly immediately after planting.
• Allow water to trickle slowly around base of plant and edges of backfill soil.
• Water until the soil is thoroughly moistened.
6. ADD STAKES if needed
• Stake trees only if needed to protect or support the trunk or anchor the root ball during the first year or so after planting.
• Do not fasten trunks firmly; they must be allowed to flex some with the wind to develop stem strength.
• Learn more about staking trees.
7. Install IRRIGATION
• If using a drip irrigation system to water the new plant, install it after planting, before adding mulch.
• Learn more about drip irrigation.
8. Apply MULCH
• Cover the soil with a 2 to 4-inch layer of organic mulch, like wood chips.
• Keep mulch 6 to 12 inches away from the base of trees and shrubs; allow the root flare (where the trunk meets the soil) to show.
• Mulch to the outermost edge of the plant's canopy, referred to as the “drip line.”
• Learn more about types of mulch
9. WATER AS NEEDED through establishment period
• Newly planted trees and shrubs need more frequent watering for up to two growing seasons until they become well rooted.
• Established plants can be weaned to tolerate less frequent watering. Proper weaning develops deep roots and helps plants better tolerate drought.
• Don't overwater. More plants are lost to over-irrigating than probably to any other cause.
• Learn more about how to water.
10. MONITOR your new plants
• Check on your newly planted plants every week for the first season.
• Check the soil for adequate moisture and check the foliage and branches for problems.
Fertilizing
Don’t fertilize newly planted trees and shrubs.
Newly planted trees do not require fertilization for one to three years and possibly not at all if they are putting out sufficient new growth and the tree canopy is full.
Exception: some fruit trees and other edible plants appreciate organic fertilizer. Learn more.
Got gophers? Before you plant …..

To protect individual plants, install wire baskets, which you can make at home or buy commercially, at the same time you are putting the plants into the ground.
• Use light-gauge, three-quarter-inch, non-galvanized steel wire for shrubs and trees that will only need protection while young.
• The wire will rust and disintegrate after several years, preventing growing roots from becoming strangled.
• Choose baskets large enough to allow for the roots to grow for several years.
• Leave the bottom of the collar open and make sure the top extends 6 or more inches above the soil line to discourage gophers from above-ground dining.
Protect raised vegetable or flower beds by lining the bottom of raised beds with hardware cloth and extending the lining halfway up the sides.
Learn more about raised beds.
Learn more about managing gophers.
