Planting in Containers

Planting in containers opens up a whole new range of possibilities – whether growing plants indoors or out, ornamental, or edible, from tiny succulents or large shrubs. While some of the mechanics of planting as described in the 10 Steps for Planting Success apply, there are a few other things unique to planting in containers.
Start with the right container
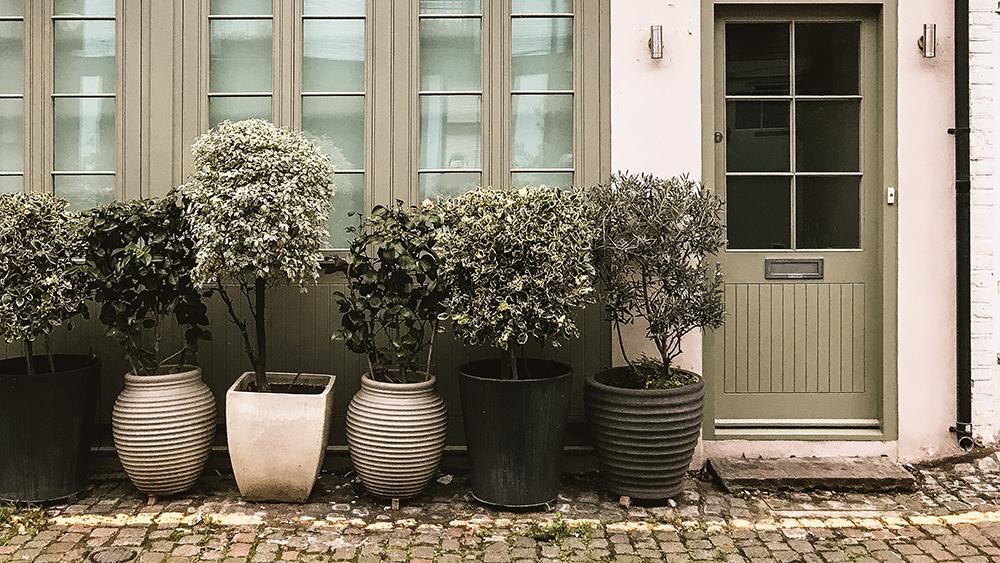
Containers are available in many different materials, sizes, and shapes. When selecting a container, in addition to its being attractive, consider:
The right size for the plant
• Container size is generally determined by the diameter and height (in inches) or volume (in gallons).
• Match container size to plant size, both the top growth and root system.
• Don’t squeeze large plants into small containers. If you restrict root growth too much, your plants won't grow well.
• Allow enough space for roots at maturity – both root depth (vertical) and spread (horizontal).
• A deeper container is generally better than a wider container because it provides more space for roots to grow down, in search of water and cooler temperatures.

What it’s made of
• Clay or terra cotta pots are porous. They allow for aeration but also require more frequent watering.
• Plastic, glazed, and cement pots are non-porous and maintain temperature and water at a more constant level.
• Fiberglass containers are non-porous, have less thermal insulation, and are light weight.
• Wood planters are porous and ideal for large plants. Select a durable wood like redwood or cedar that are naturally resistant to decay.
• Metal planters are non-porous, can get hot, and need more watering. They can also rust.
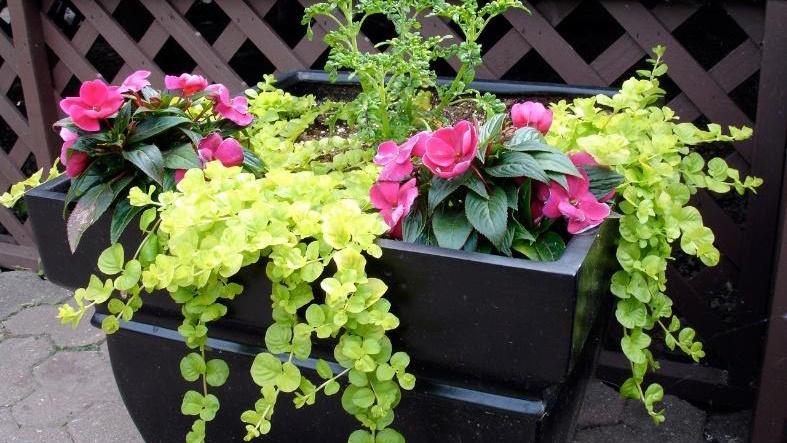
• Dark colors will create higher temperatures that could injure young tender roots and prevent the full development of a plant’s root system.
Weight and portability
• The weight of the pot is important for plants that are top-heavy, may be subjected to wind, or for plants that will be moved around frequently.
• Large, top-heavy plants may topple over if they're planted in small, lightweight containers.
• Plan for the total weight of the container – that is, the container, plant(s), and moist soil.
Prepare the container
Before any planting, be sure the container has adequate drainage and if it has been used, that it has been sanitized.
Drainage
• Cover (but don't block) the hole so water drains freely while holding the potting soil in.
• Use one or two pot shards or small piece of metal mesh.
• Don’t add gravel – it causes water to collect in the potting mix just above the gravel.
Sanitize
• Remove soil and any salt deposits.
• Brush, scrape, rinse.
• Sanitize in a 10% bleach solution (9 parts water to one part bleach); non-porous materials for 10 minutes, and 3 hours to overnight for porous clay.
• Rinse thoroughly.
The right “soil” for containers
Potting soil or growing media for container plants is different than garden soil. It must hold water in a limited space while maintaining a high volume of air. Quality potting soils should:
• Contain high amounts of bark, forest materials, or sphagnum peat with vermiculite or perlite.
• Be low in soluble salts, and slightly acidic (pH of 5 to 6.5).
• Be capable of holding essential nutrients for plant growth.
Thoroughly leach any potting soil before placing plants in the mix, e.g., allow water to saturate the potting soil and run out the hole. Leaching will reduce soluble salts to acceptable levels in most mixes.
Now for planting
• Start with a clean container with the drainage hole covered, potting soil that is moist, and plants that have been well watered.
• Fill container three-quarters full with moist potting soil.
• Form a cone of soil in the middle of the pot for the plant.
• Spread prepared roots around cone.
• Fill in potting soil around roots to the same level on the trunk or stems as in the original nursery container.
• Leave one inch of space between soil and the lip of your container. This will provide space for a water reservoir.
• Tamp by tapping pot or with fingers to settle.
• Water thoroughly. Occasionally water makes a channel through the container mix and leaves dry areas. Fill the channel with potting mix and water again.
• If you have a tray or saucer under your plant, be sure to empty it so the roots do not sit in excessive water.
