Compost Systems: What's Best for You?
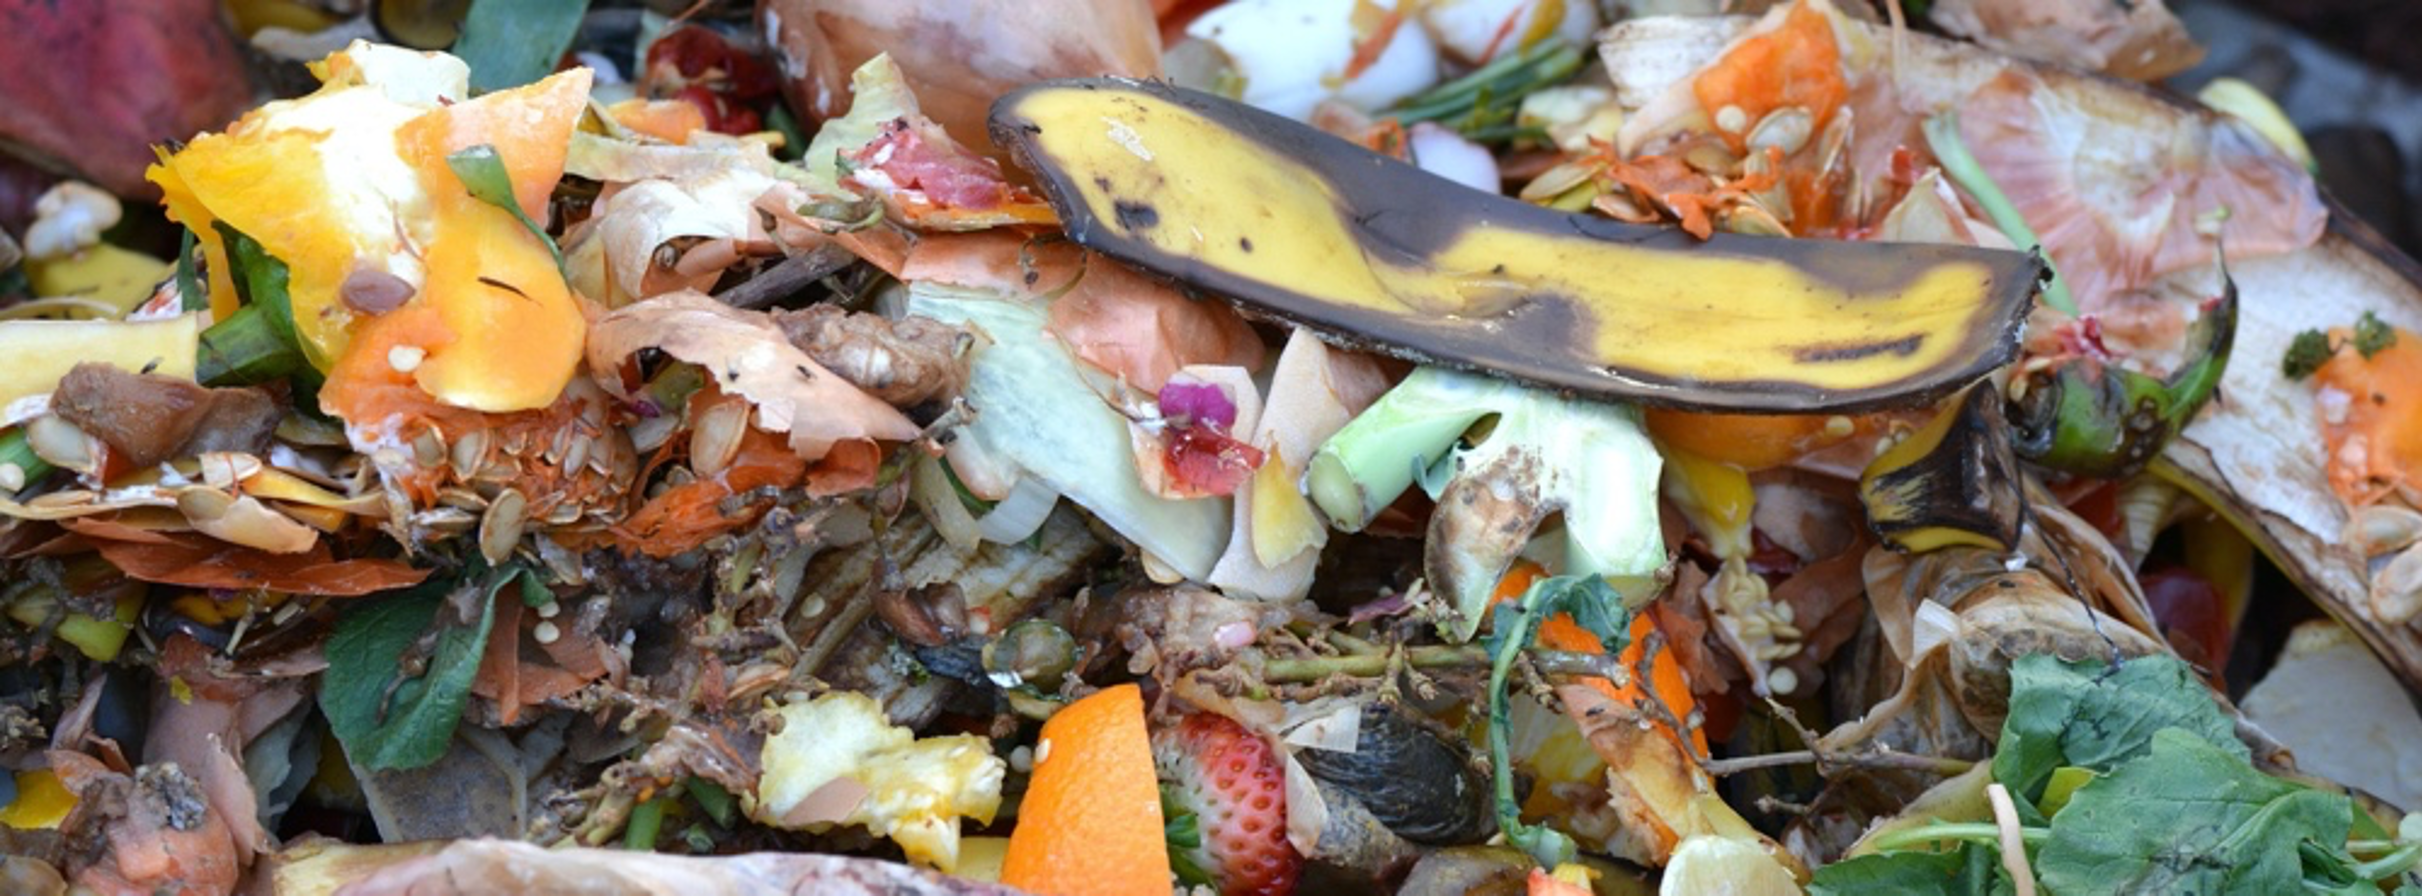
The real work of composting is done by a variety of underground inhabitants including earthworms, sowbugs, bacteria, fungi and other micro-organisms. Some you can see, but most you cannot. The gardener's job is to provide these indispensable garden helpers with food, water, and air.
There are many different ways to compost your organic waste. Some require special equipment and more technical knowledge. Some only work for small amounts of waste while others can accommodate large quantities.
Evaluate your needs and commitment
• How much time and effort do you want to spend?
• Are you willing to invest in some basic equipment?
• What are you planning to compost and how much do you have?
• Do you have space for a designated compost area? If you have space for a bin or more, great. If not, there are smaller-scale options.
Four types of compost systems
> Pit Composting > Pile Composting
> Sheet Composting > Worm Bins
1. Pit Composting
• Dig a hole about a foot deep (to discourage pests). Put your kitchen scraps in and cover.
• Place holes throughout the garden to easily renew your soil.
• It takes about three months for decomposition, depending on soil temperature.
• No Investment in materials required.
• This is not a practical method for large quantities of organic material.
• Good method when space is limited.
2. Pile composting
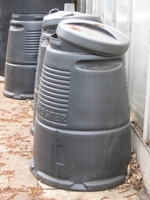
• Commercial products such as bottomless, tiered, plastic systems with a lid work well because they hold heat better than an open pile and deter animals.
• Barrel or batch-style systems can make turning composting material easier, are more resistant to animals, and can reduce the processing time.
Wire mesh enclosures
• Cheap and easy to build.
• Challenges: tough to work the pile, wire can be easily crushed or bent.
• A wire mesh enclosure is totally exposed, so vigilance will be needed to keep the pile from drying out.
Multi-bin systems
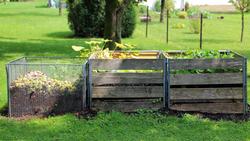
• Three bins are often used to accommodate compost in various stages of development.
• Two bins side by side works well. Use one for assembling components and the second for the actively decomposing pile or use to turn and mix a single pile from one bin to the other
• Adding removable slats makes the process easier because the compost is more accessible.
Basic requirements for pile, wire, or multi-bin systems
• Consider the time and energy required to maintain a compost pile and to achieve the finished product.
• Slow compost method. Continuously add to pile, little or no chopping of materials, turn and water as desired, finished compost ready in 12 to 18 months.
• Intermediate compost method. Build pile with no further additions, chop materials to 2-inch pieces, turn and water pile weekly, finished compost in 3 to 8 months.
• Fast compost method. Build pile with no further additions, and chop materials to one-half to one and a half-inch pieces. Closely monitor temperature of pile. Turn pile immediately if temperature is 150°F. Turn and water when pile reaches 140-150°F. As the pile cools, start turning when it reaches 120°F. Once pile cools below 120°F turn and water every week. Compost will be ready in 6 to 8 weeks.
• Allow space for a three-sided structure. Each bin should measure 3 to 5 feet on each side. Each pile needs to be minimum 3 feet by 3 feet to generate enough heat for decomposition. Allow extra space for digging and turning the pile.
• Locate in sun or shade. The temperature of the pile depends on composition, not exposure to the sun.
• Build piles in layers of “browns” which add carbon to your pile and “greens” which add nitrogen. Alternate layers of green and brown—each green layer about 4 inches thick, each brown layer 8 to 10 inches—start with brown material.
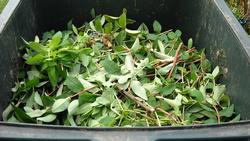
• Water each layer as it's added. The material should be about 50% water content. A simple test is to squeeze a handful—if it falls apart, it's too dry. If it oozes a lot of water, it's too wet. With correct moisture the handful will hold together, and just a few drops of water might appear. It will take more water than you think to achieve this—it's not just a light sprinkle. Keep pile as moist as a wrung-out sponge. Decomposition slows in a dry pile.
• To chop or not to chop. Chopping material one-half to one and a half inches will speed up the composting process. Chopping and chipping are most important for the brown material, less so for the succulent greens. Use a chipper, shredder, pruning shears, or sharp shovel.
• Turn the pile frequently. Turn the pile for air circulation, to maintain an optimal temperature, and to mix the materials. Mixing prevents dense clumping of materials, common when using grass clippings. The longer between turnings, the longer until the finished compost. The basic rule is to turn the pile every few days to once per week.
• Temperature. Bacteria feeding on nitrogen-rich green material produce the heat. The bacteria thrive between 122°F and 131°F. Temperatures greater than 131°F kill many pathogens and weed seeds. Temperatures above 160°F kills bacteria and halts the composting process. The ideal temperature range is between 100°F to 150°F.
• Adding food scraps. Bury scraps 6 to 12 inches into the center of the pile. Do not leave food scraps exposed as this can attract flies and rodents.
• Do NOT add soil, wood ashes, weeds that have gone to seed, invasive plants, diseased plants, animal products, dairy products, oil, grease or fat, glossy paper, or sawdust from treated lumber or plywood. Do not include human or pet waste as they may contribute to disease-producing bacterial contamination.
• Odor. A foul odor means the pile is too wet or compacted or contains too much green material. The solution is to turn the pile and add brown material. See troubleshooting.
• Signs of a healthy compost pile. Earthy odor, heat, powdery white fungi on decomposing material, a reduction in the size of pile, and a dark brown color.
• Equipment. Compost fork, compost thermometer, chipper/shredder (optional), water source nearby
3. Sheet composting – See it in action!
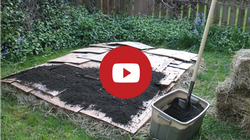
• Ingredients: cardboard (or thick layers of newspaper) and mulch (homemade, collected or purchased).
• Prepare your site: Cut down large plants and weeds. Leave the clippings. If you are eliminating a lawn, mow it short and leave the cuttings. Water well.
• Cover the entire area with the cardboard — don’t skimp. Generously overlap layers. The goal is to shut out all light to the vegetation.
• Water well again.
• Add 2 to 4 inches of weed-free mulch — dry leaves, fine wood chips or straw, but not hay. You will need a lot of mulch, so consider purchasing in bulk.
• Water again and keep it damp throughout the process (to speed decomposition).
• Let it "cook" for 4 to 6 months or longer.
Learn about sheet composting as a lawn replacement method
4. Worm bins

• Also called vermicomposting.
• Usually small, compact, and fast.
• Locate a 5-gallon plastic bin with a lid.
• Put holes in the container for air and to let the liquid gold escape.
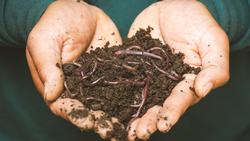
• Feed equal portions of greens and browns
• Greens: Vegetable and fruit scraps, bread, pasta, coffee grounds and filters, teabags, dead plant matter from houseplants.
• Browns: Paper, junk mail, paper egg cartons, cardboard, dry leaves
• Do not feed animal or meat, bones or fats, dairy products, citrus products, processed foods, onions, garlic, or peppers
• Keep in a cool, dry place away from predators.
• Remove the worm castings and use as a wonderful soil amendment.
INTERESTED IN WORM BINS?
UC Marin Master Gardener Joan Irwin shows you how to make your own!
